How To Contour Palette: From Newbie to Face Sculpting Pro
- malenacns
- Mar 25, 2024
- 2 min read
Updated: Oct 28, 2024

Carving out your cheekbones, slimming your jawline, and adding definition to your nose - contouring can elevate your makeup routine. But a contour palette can seem intimidating for those new to shading and highlighting. Fear not, makeup mavens! This guide will break down everything you need about using a contour palette, transforming you from a contouring curious to a face-sculpting pro.
Demystifying the Palette:
Contour palettes typically contain a range of shades, from cool-toned browns for creating shadows to warm tones for adding a touch of bronzer. Some palettes even include highlighters to bring out the features you love. When choosing a palette, consider your skin tone—cooler tones are best for fair complexions, and warmer tones are best for deeper skin tones.
Brush Up on Your Skills:
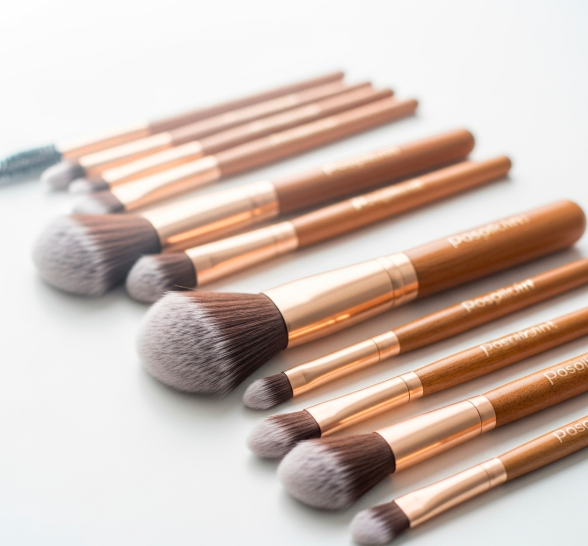
The right tools are essential for seamless blending. A fluffy brush works wonders for applying contour powder, while a denser brush helps buff and blend for a natural finish. For highlighting, a smaller, angled brush allows for precise application.
Finding Your Face Shape's Perfect Shade:
The key to contouring is using light and shadow to create dimension. Here's a quick rundown on where to apply the darker shades in your palette based on your face shape:
Oval: Lucky you! Oval faces are well-proportioned, so a light touch with contouring is ideal. Apply product under the cheekbones and along the jawline.
Round: To elongate a round face, focus contouring on the outer edges of your face. Blend the product under your cheekbones and towards your temples.
Heart: Similar to round faces, focus on creating a definition on the outer portion of your face. You can also add a touch of contour to the center of your chin to minimize its pointedness.
Square: Soften a strong jawline by blending contour powder under the cheekbones and slightly down the sides of the jaw, but not extending to the chin.
Blending is Your Best Friend:
The secret to a natural-looking contour? Blending! Once you've applied your contour shades, use a fluffy, soft brush to buff and blend the makeup outwards until there are no harsh lines. Here's where a good-quality brush makes all the difference.
Concealer Palette Power Up (Optional):
For a flawless finish, consider incorporating a concealer palette into your routine. Apply concealer after foundation before contouring to target areas like blemishes or under-eye circles. This step provides extra coverage and ensures your contour shades go on smoothly. Look for a concealer palette from a reputable makeup supplier [concealer palette supplier] that offers a range of shades to match your skin tone perfectly.
Highlight for Extra Dimension:
After blending your contour, apply highlighter to the tops of your cheekbones, right down the bridge of your nose, and your cupid's bow to add a touch of luminosity and further enhance your sculpted features.
Practice Makes Perfect:
Don't be discouraged if your first attempt at contouring isn't Instagram-worthy. Like any makeup skill, contouring takes practice. Experiment with different techniques and find what works best for your face shape and preferences. With some practice, you'll be a contouring pro in no time!


Comments